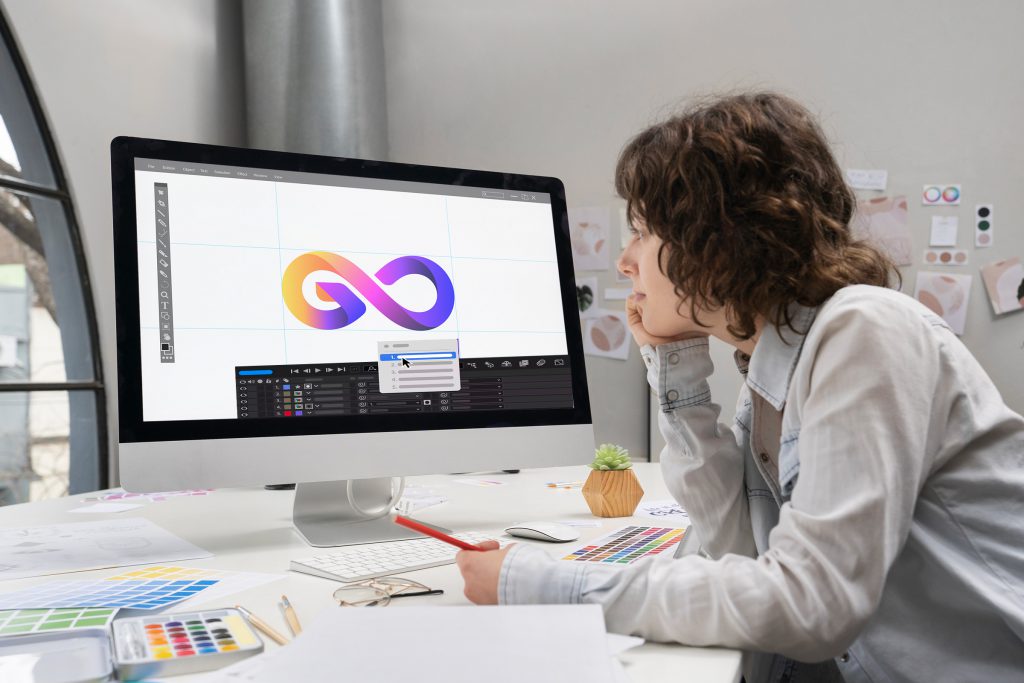
One of the most effective ways to make your logo more appealing and memorable is animation. Many businesses today are animating their logos to create a positive first impression on potential clients and make their brands unforgettable.
So, your first concern when you want to improve your logo should be how to make animated logos. Fortunately, there are many advanced animation tools that you can use to animate your logo, including Adobe Illustrator, Adobe After Effects, etc. This article will teach you how to animate a logo in After Effects.
What Is Logo Animation?
Logo animation is the process of turning a static logo into a motion graphic using animation designs. You simply take the static logo, break it into various parts, and turn those parts into motion graphics through computer animation.
This process is designed to add life to your logo and give your digital brand more punch. So, are animated logos a good idea? Yes–animated logos make a brand more identifiable and memorable.
As the digital space continues to grow, it’s very easy for your brand to be overshadowed by your competitors. But with an animated logo, your brand will always stand out and grab the attention of potential clients.
How to Animate a Logo in After Effects
Because you’re not a professional animator, you should leave the work of logo animation to professionals who have the prerequisite qualifications, skills, and creativity to create amazing logo animations. So, the best way to animate your logo in After Effects is to hire a logo animator for your project.
The good news is that you can now find qualified logo animators on Guru–a reputable freelance job site that enlists specialists from all over the globe. With logo animators on Guru, you don’t need to invest in costly offices because they work remotely.
Furthermore, you get to choose your animators from a vast pool of highly qualified experts who’ve been thoroughly vetted to ensure they’re competent. But because you have to interview your potential logo animators, you should be familiar with the logo animation process to be able to make the right choice.
Here are the main steps to take when animating your logo in After Effects:
Create a Logo File
If you don’t have a logo yet, you should create it in your preferred logo design software like Adobe Illustrator. Make sure your logo file is in vector format to allow you to alter it without compromising its quality when you’re doing animation. Once the logo is ready, export it as a layered vector file.
Import the File
You can either drag and drop your logo file into the Project Panel in the After Effects interface or go to ‘File’ > ‘Import’ > ‘File.’ This process will generate a dialogue box where you should choose the file as ‘Footage’ and ‘Merged Layers.’
Establish a Composition
Composition allows you to create layers, edit, and apply your animations to your logo file. Large animations like movies contain many compositions set up in the Project Panel, while small projects like logos have very few compositions.
Animate with Keyframes
After Effects and other animation programs use keyframes to create animations. Keyframes are markers in the timelines to help you identify the start and end states for animations. For instance, if you’re creating a fade-in, you’ll have numerous attributes attached to each object.
These attributes are set to change over a specific period. This is what is referred to as animation. You can see these attributes by clicking on the ‘Expand’ icon. For your fading logo animation, use attributes that measure the visibility of an object like Opacity.
Additionally, create keyframes without altering anything to get snapshots of your attribute values in their original form. Then you can place your keyframes in your preferred endpoint on the timeline. Lastly, you can create new keyframes for modifications at the beginning of the timeline.
Add Shape Layers
Shape layers have pathing details like anchor points and connecting lines that you can take advantage of to create more interesting animations. Start by converting your logo into a shape layer then choose all the layers you’ve created in the composition panel.
Right-click on the selected layers and go to ‘Create’ > ‘Create Shapes from Vector Layer.’ Each layer will be duplicated and starred. Use the ‘Add’ button to choose more attributes.
Adjust Animation Timing
Timing describes the movement of animation frames. Check the timing of your logo animation in the Graph Editor. Click on the ‘Graph Editor’ icon to change the timeline to a linear graph.
Export Your Animated Logo
To export your animated logo navigate to ‘File’ > ‘Export’ > ‘Add to Adobe Media Encoder Queue.’ Your After Effects program will automatically export the file in MP4 format.
If you’re looking for a professional animator to take over, don’t worry. Guru has plenty of qualified freelance candidates ready to bring your new project to life!


