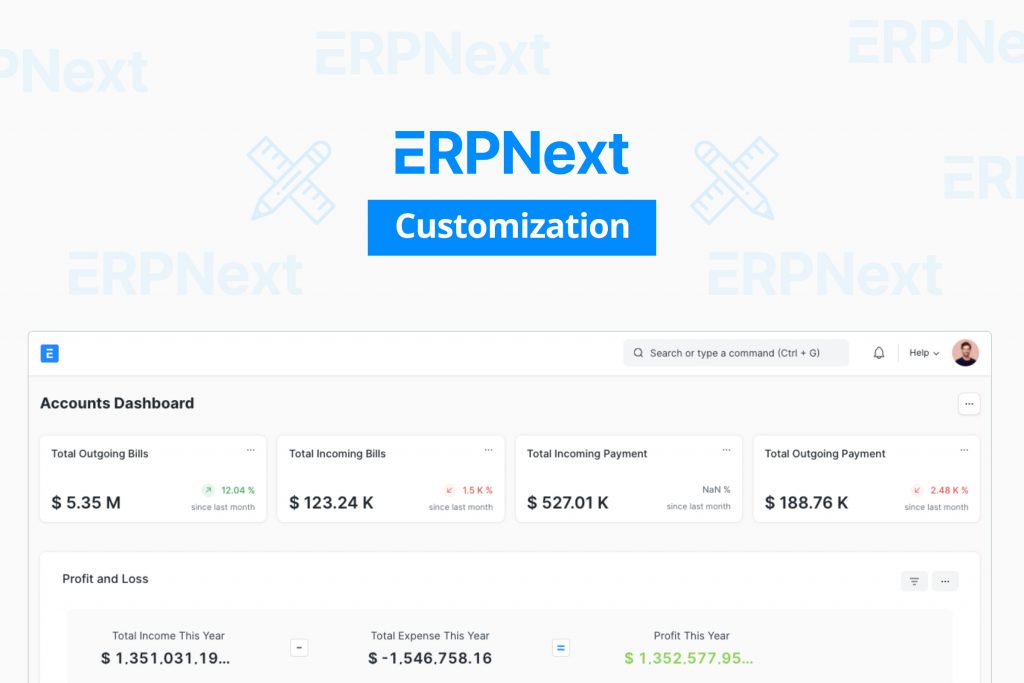
ERPNext is an extremely useful tool that is also highly customizable. Depending on what kind of business you have and what kind of business processes you want to achieve through ERPNext, you have a lot of flexibility when it comes to customizing existing files, reports, formats, document types, and more.
Eventually, you’ll need to know how to update ERPNext—if you need guidance, you can always hire an ERPNext consultant at Guru, the best platform to hire freelancers. Today, however, we’re going to look at the basics of customization.
ERPNext and Its Utility
ERPNext is an Enterprise Resource Planning (ERP) software developed by Frappe Technologies based on open-source code. There are some limitations in ERPNext’s default structure and its overall functionality—limitations that can be remedied through the use of the customization tools available through the software suite.
Customizing the Form
First, we will be going over the Customize Form tool, which will allow any ERPNext user to make changes to a Form Type or a Document Type (DocType) on the front-end. What this essentially means is that anyone can insert Custom Fields based on their needs or even customize the properties of the fields that come standard.
In order to begin customization, you will need to visit the following menus in the following order:
- Home
- Customization
- Form Customization
- Customize Form
Once you click on Customize Form, you will be redirected to another page where you can enter the Form Type. Here, you will need to fill in all of the required information, after which you can see the multiple features available to you.
You will be provided with the opportunity to change the label, edit title fields, change the default print format, add an image field, select the maximum number of attachments that can be added to the DocType, find the search fields, and sort fields. You can also set the sort order or edit the default email template.
Additionally, you can enable hide copy, table features, quick entry features, and track any changes. There is also a feature that allows you to track views, allow auto-repeat, allow import, and show preview pop-ups on the screen. It’s up to the user to decide which customization options they prefer.
Customizing the Field
Aside from customizing the form, you can also customize the field within ERPNext. What you need to understand straight away is the fact that every form in the ERPNext software has a set of available standard fields.
If you want to capture some information, and there isn’t a field available for you, you can even insert a custom one based on your specific environment. Remember that you can view the list of any DocType and customize it from the menu options directly.
Click on ‘New,’ then select the document where you want to add the custom field. Enter what label you want to give to it, and select the field type—you can even select the Custom Field within this menu. After you have defined everything, click on ‘Update.’
There is a lot of additional information that you can tweak, including the ‘options’ field, which comes into the picture when you want your data to be specific. There’s also the ‘fetching form,’ ‘fetch if empty,’ ‘default value,’ and ‘depends on.’ You can type in a field description, set the permission level, select the width, and manage a lot more properties in the process.
Using the options of ‘mandatory field,’ ‘read-only privileges,’ ‘bold,’ ‘report hide,’ ‘ignore XSS filter,’ and the ability to ensure it is translatable, you are given a tremendous amount of flexibility.
Flexibility at Its Finest
Now that you know the basics surrounding ERPNext customization, you can tweak the settings as much as you want and get everything set up just the way you prefer. If the process still seems daunting, a freelance ERPNext customization expert from Guru can help you the entire way–check out our wide array of professional freelancers today!


