Building a brand takes a lot of time and effort. So much goes into logos, product design, and packaging that very few people ever give thought to the fact that they’ll need to capture these designs on camera.
Having a low-quality image or a stunning photograph can be the difference between failure and success for a business, especially in saturated niches. It’s important to make sure your product looks great in a high-quality photo with excellent lighting. After that, it all comes down to hiring a freelance photo editor from Guru to take your masterpiece to the next level!
How to Take a Great Photo
Before we get to the photo editing stage, it’s important to make sure that the photo you take is the best it can be. Even with only a smartphone, you’d be amazed at the quality of images you can get with the tap of your finger!
Lighting
Arguably, the most important aspect of a photo is its lighting. If you take a photo in a dim room with a single source of light, shadows will ruin your image. Similarly, if you take a photo of a person with the sun behind them, you’ll only see a silhouette of your subject.
For smartphones, be sure and touch the screen where your subject is located, and the photo app on your phone will automatically make this area the most well-lit. It should be noted, however, that depending on the ambient light, this may cause other features of your photo to wash out with white or darken so much as to be almost invisible. For all these reasons, it’s best to always arrange your subject so that it’s in as much light as possible.
Center Your Subject
You always want to make your subject the center of attention. A great way to do this is by using what photographers call the ‘rule of thirds.’ If you drew lines that evenly divided your photo into three horizontal and three vertical sections, the place where each line intersected would mark where a viewer’s eye will be naturally drawn to.
Remember that you can always use your phone’s crop feature to center your subject, though this may come at the expense of other elements in the background.
Time to Edit
Now that you’ve got a great photo as a foundation for your brand, the next step is to edit that photo to make it really stand out.
Saturation
You’ll find the ability to adjust saturation in most phones’ camera software–this essentially allows you to adjust the vibrancy of the colors. Typically displayed as a simple slider, increasing the saturation can make colors pop. Be careful not to overdo this, though, as there is such a thing as too much vibrancy.
Contrast
Contrast is the difference between the bright and dark spots in your image. Increasing the contrast will make bright spots brighter and dark spots darker. Use this tool with care, but with a gentle touch, it can help add a bit of depth to a photo.
Temperature
Similar to saturation, adjusting the temperature of a photo changes its colors to make them warmer or cooler. Images with loud colors can be toned down, making them look more natural and appealing. Alternatively, cold photos can have a bit of warmth added into them.
Get Help From a Professional
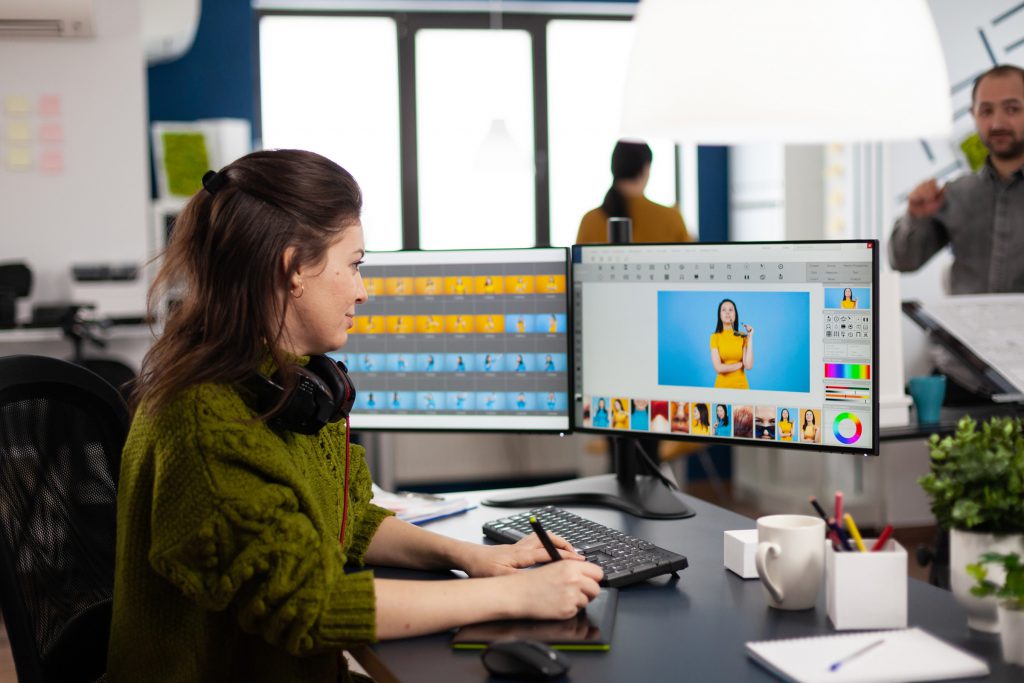
Even if you’re a master of Instagram filters and running your day-to-day business needs, professional photo editors can do things with images you might only be able to dream of. Once you understand what photographers use to edit photos, you’ll see that they’re on a whole other level compared to the average person with a smartphone. These experts can take nearly any image and elevate it to professional status with just a few hours on a laptop!
Guru is the best place to find freelance photo editors. You can peruse our catalog of thousands of photo-editing professionals, as well as review their work, prices, and portfolios until you find the perfect editor to take your business photos from shabby to shiny.


