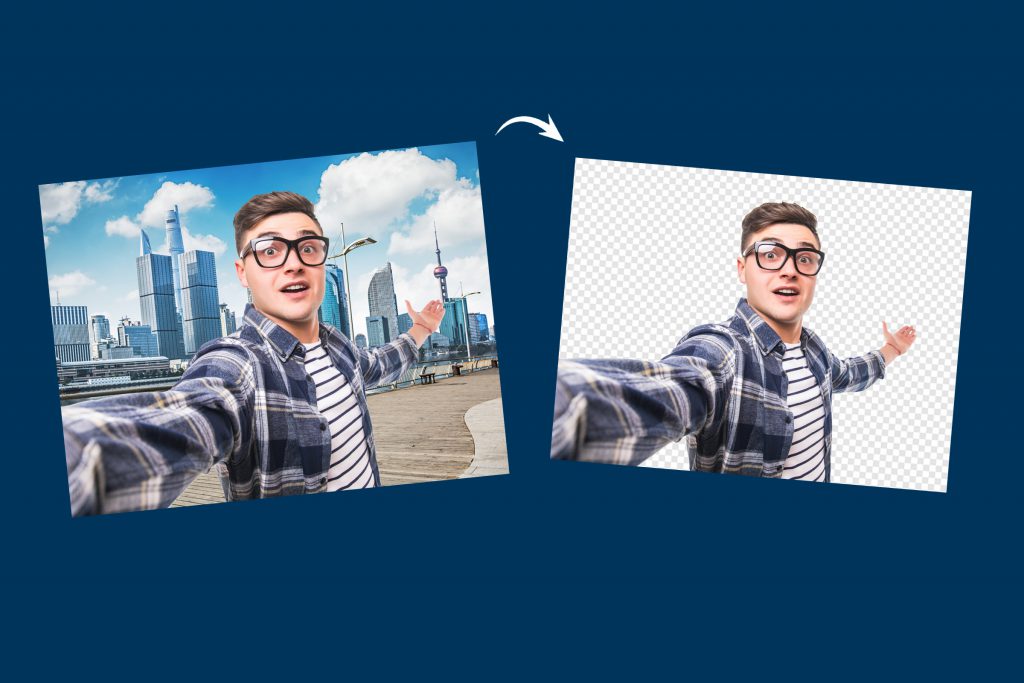
Transparent backgrounds are used with a logo or element that you want the background to show through in places where the image has openings. These backgrounds can come in handy when used on different website pages and social media posts.
After perusing this step-by-step guide on how to give an image a transparent background, it’s important to remember you can always find freelance background removal services on Guru if you don’t want to do it yourself!
What Is a Transparent Background?
A transparent background is essentially an image that creates an invisible background. If you Google the term ‘transparent image,’ you will find examples that include a gray and white checkered background.
This checkered background is used to display where the transparent background will reside while you are editing an image. As soon as you save the edited image, the checkered background disappears, and that space will act as the transparent background.
The most common file format for an image with a transparent background is a GIF and PNG.
How to Give an Image a Transparent Background
You can remove the background from an image by using photo editing software such as Adobe Photoshop or hiring a professional to do it for you.
Here’s how the background removal process works in Adobe Photoshop:
- Open the file you want to edit in Adobe Photoshop.
- Follow the path ‘Layer’ > ‘New Layer.’ The new layer will be transparent–just make sure you drag it under your image’s layer.
- Use the Lasso tool or Magic Wand tool to select the part of the image you want to be transparent and click ‘Delete.’ The selected background will be deleted, and you will see a white and gray checkered surface. We also recommend experimenting with the tolerance setting, which allows you to be selective about the level of transparency.
- If your image has several elements within it, you might need to repeat the previous step. This is particularly true if the elements are not connected to one another.
- Finally, save your file in PNG format. Once you save the file, the transparent background will not be checkered but will appear as transparent.
Here’s how to create a transparent background with GIMP, another photo-editing tool:
- Opt for Foreground Tool Selection.
- Using the tool, draw around the objects you wish to keep.
- Click ‘Enter.’ The background will turn blue.
- Roughly brush over the part of the picture you wish to keep.
- Click ‘Preview Mask.’ This feature will help you visualize your selection. If you think you did not draw it well, you can make changes.
- Next, click ‘Select’ > ‘Invert.’
- Right-click your image and click ‘Add Alpha Channel.’
- Click the ‘Delete’ button.
- Save the transparent image as a PNG.
In addition to GIMP and Adobe Photoshop, you can use the following image-editing tools to remove the background from an image:
- Canva
- Snappa
- iOS 16 Background Removal
- InPixio
- Ultimate Background Eraser
Although you can remove backgrounds from images using any of these apps, there are certain limitations to them. For example, the background removal feature in both Snappa and Canva is available only as part of the paid plans. This means you’ll have to pay $10 or more to take advantage of their one-click background removal options.
Along the same lines, InPixio, iOS 16 Background Removal, and Ultimate Background Eraser platforms have limitations. For example, you need a specific type of device to use these tools.
Hire a Freelance Expert
Even if you use the tools above, there’s a good chance you won’t be able to produce the smooth and sharp results you are looking for. Your attempts at creating a transparent background for an image will most likely not come close to what can be done by a professional. Plus, there will be a learning curve with any new software–you’ll likely have to perform tasks numerous times to learn the app well enough to be able to produce flawless images with a transparent background.
Because the process of creating a transparent background requires time, effort, and practice, we recommend hiring a professional for the job–this is especially true if you have a large number of photos that need editing. Fortunately, you don’t have to hire someone on a monthly basis or commit to a long-term arrangement to give only a few images a transparent background.
Instead, you can hire an editor on Guru on a freelance basis at an extremely affordable rate. You only pay for the work you request, without entering into a formal long-term contract. Say “goodbye” to learning or buying expensive photo-editing software!
Finally, freelance photo editors don’t specialize in just giving images transparent backgrounds; instead, they have a wide range of skills and know how to replace a background in Photoshop, which may prove very useful on other projects.
Final Thoughts
So, which one is the better option for you when you want to give an image a transparent background—the do-it-yourself route, or hiring a freelancer?
If your project involves just about one or two images, you can opt to do it on your own. However, if you need bulk editing that needs to look professional, then hiring a freelancer is definitely the way to go. Guru has you covered with a wide range of skilled, experienced freelance editors–take a look at candidates today, or post a free job listing and have them come to you!


